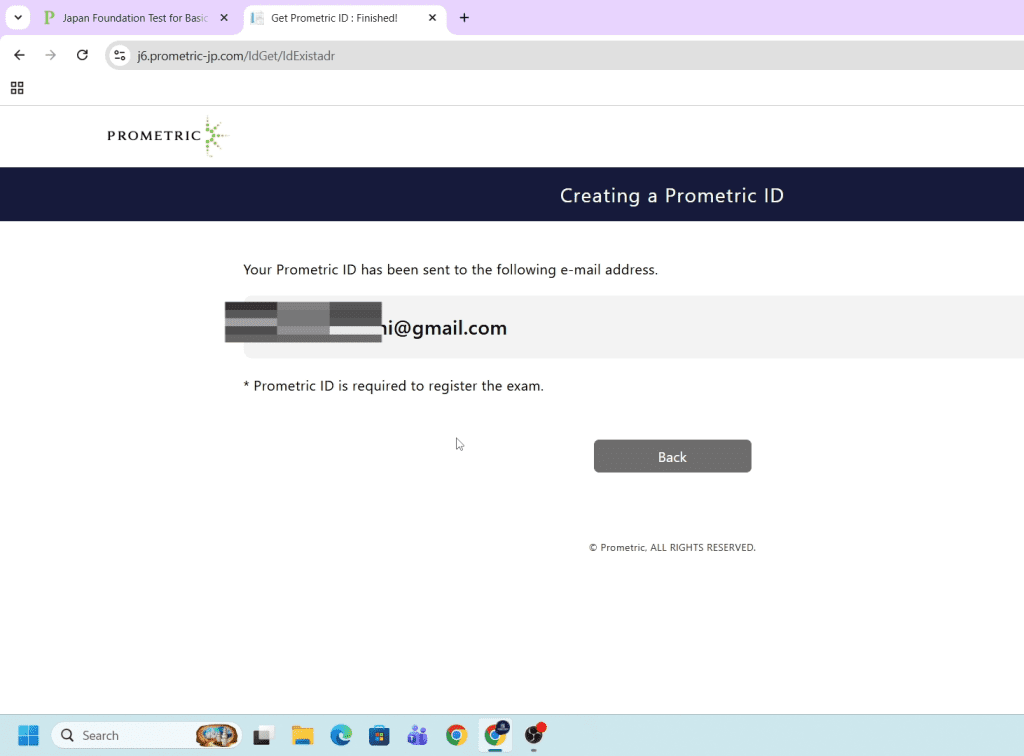
If you are planning to work in Japan under the Specified Skilled Worker (SSW) visa, getting your JFT Prometric ID is your very first hurdle. The Japan Foundation Test for Basic Japanese (JFT-Basic) is a requirement for many, and you cannot book this exam without a dedicated ID.
Registering for online portals can sometimes feel like trying to solve a Rubik’s cube blindfolded. Don’t worry, though. Whether you are sitting in a consultancy in Kathmandu or at home, this guide will walk you through the exact process to get your ID without the stress.
Let’s dive into the step-by-step process of creating your account.
11 Steps to Create Your JFT Prometric ID
Follow these exact steps to ensure your registration goes smoothly.
Step 1: Search and Navigate
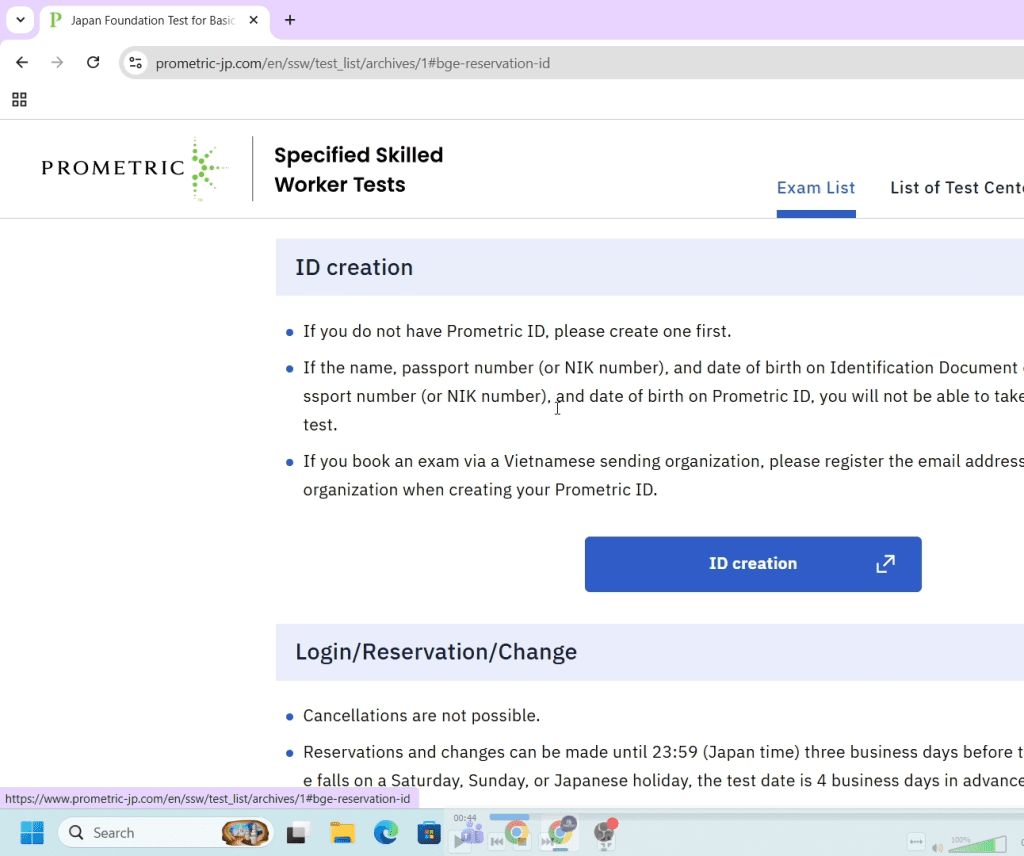
First, open up Google Chrome (or your preferred browser) and search for “JFT Basic”. Click on the very first official link that appears in the search results. Alternatively, you can directly visit the official Prometric JFT-Basic Website (External Link).
Step 2: Find the ID Creation Section
Once you are on the homepage, scroll down the page until you see the section for registration. Click on the button labeled “Obtain Prometric ID” or “ID Creation”.
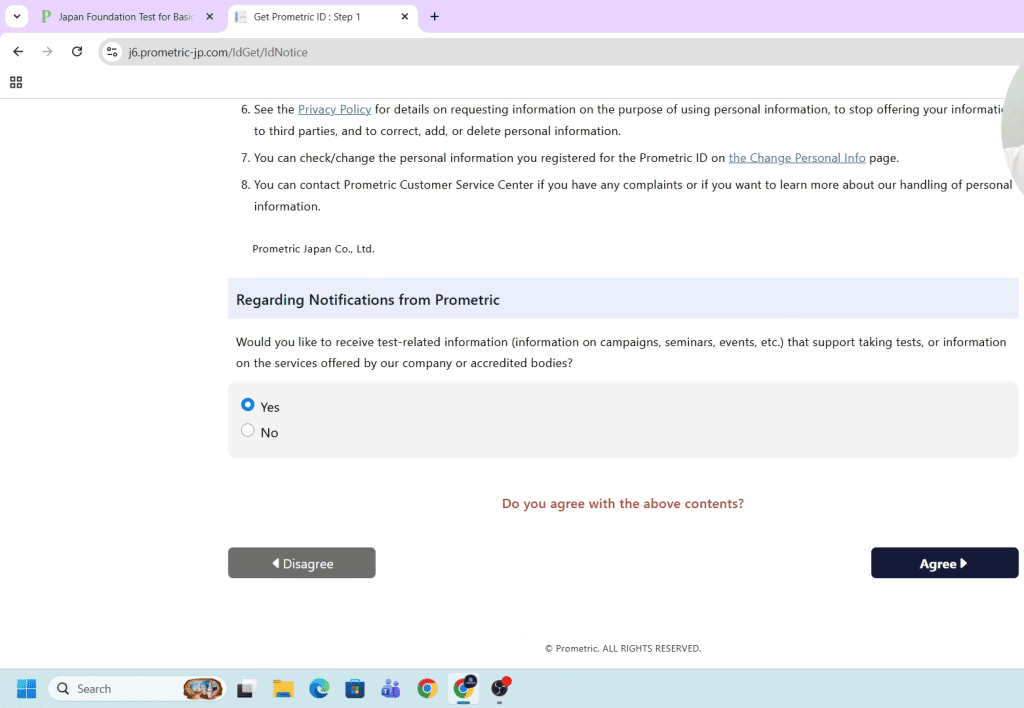
Step 3: Agree to the Terms
A page with terms and conditions will appear. Take a moment to scan through them, then click the “Agree” button to proceed.
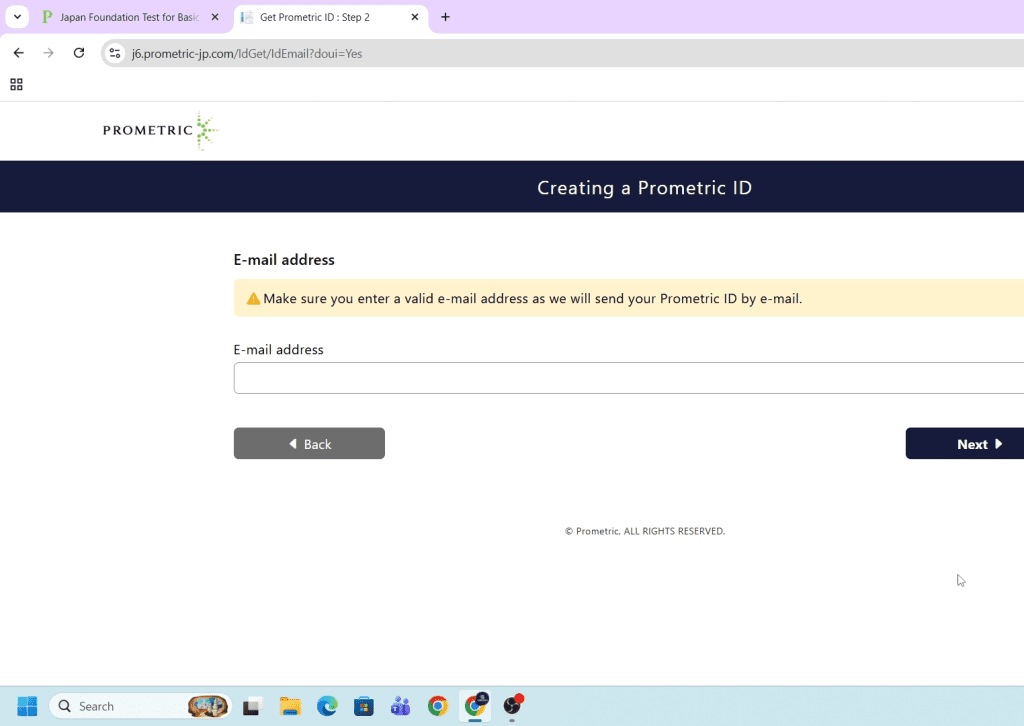
Step 4: Add and Confirm Your Email Address
Enter a valid email address that you actively use and have immediate access to. You will need to type it twice to confirm it.
Pro Tip: Do not use an old email you forgot the password to! Prometric will send your actual ID and all future test confirmations to this inbox.
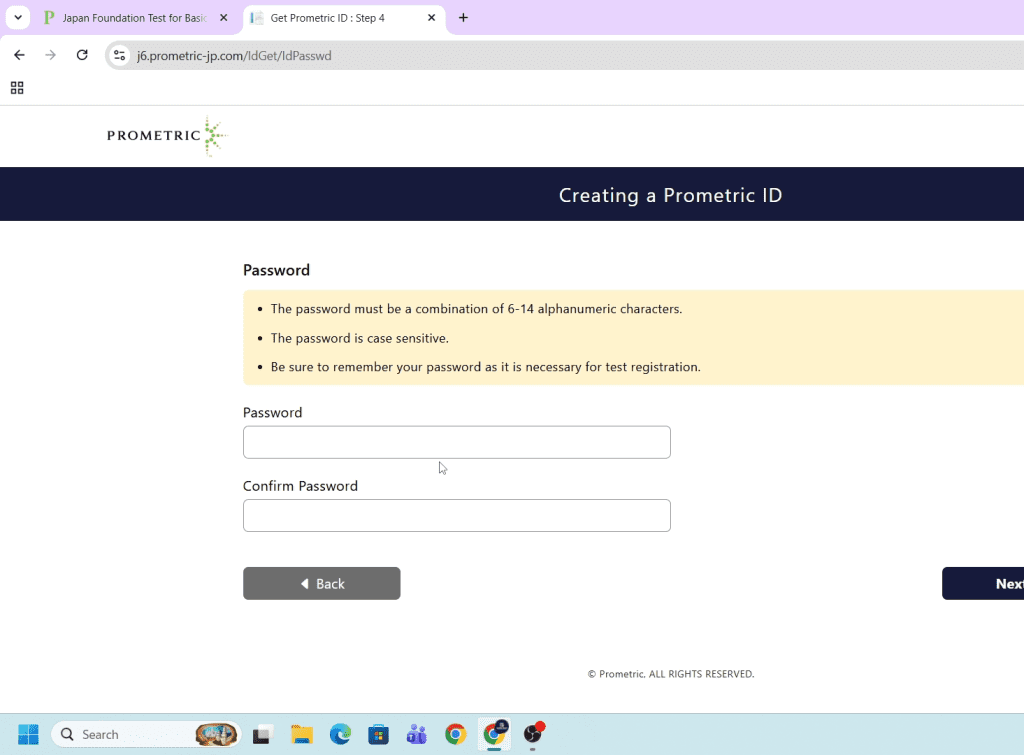
Step 5: Create a Strong Password
Create a secure password. Make sure it is something strong but memorable, using a mix of capital letters, lowercase letters, numbers, and special characters. Write it down somewhere safe so you don’t lock yourself out later.
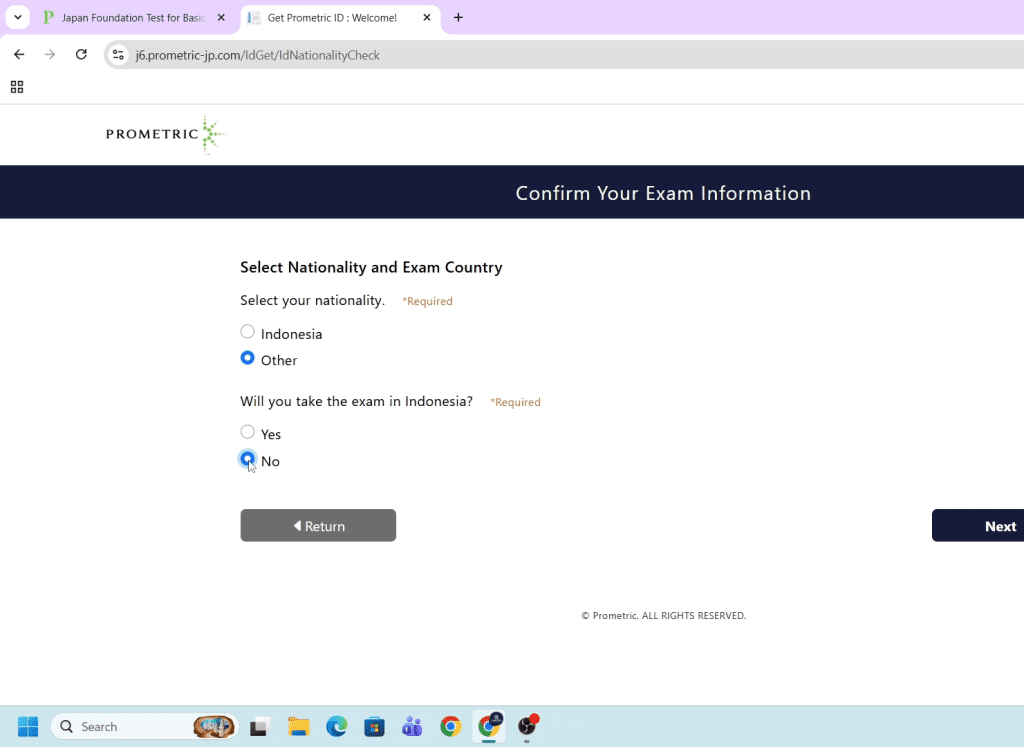
Step 6: Country Selection (Crucial for Nepal!)
This step trips a lot of people up! If you are filling out this form from Nepal, you need to select “Other” in both country-related dropdowns. You should only select “Indonesia” if you are actually an applicant from Indonesia. Selecting the wrong region can cause massive headaches when you try to book a local test center.
Step 7: Fill in Passport Details (MRZ Line 1)
Now, look at the bottom of your passport. You will see two lines of text with lots of arrows (<<<<). This is called the Machine Readable Zone (MRZ). For this step, carefully type in the details exactly as they appear on MRZ Line 1. This usually contains your passport type, country code, and your name.
Step 8: Fill in Passport Details (MRZ Line 2)
Next, fill up the details based on MRZ Line 2. This line contains your passport number, date of birth, sex, and the expiration date of your passport. Double-check every single digit! If the name on your JFT Prometric ID does not perfectly match your physical passport, the test center administrators will not let you take the exam.
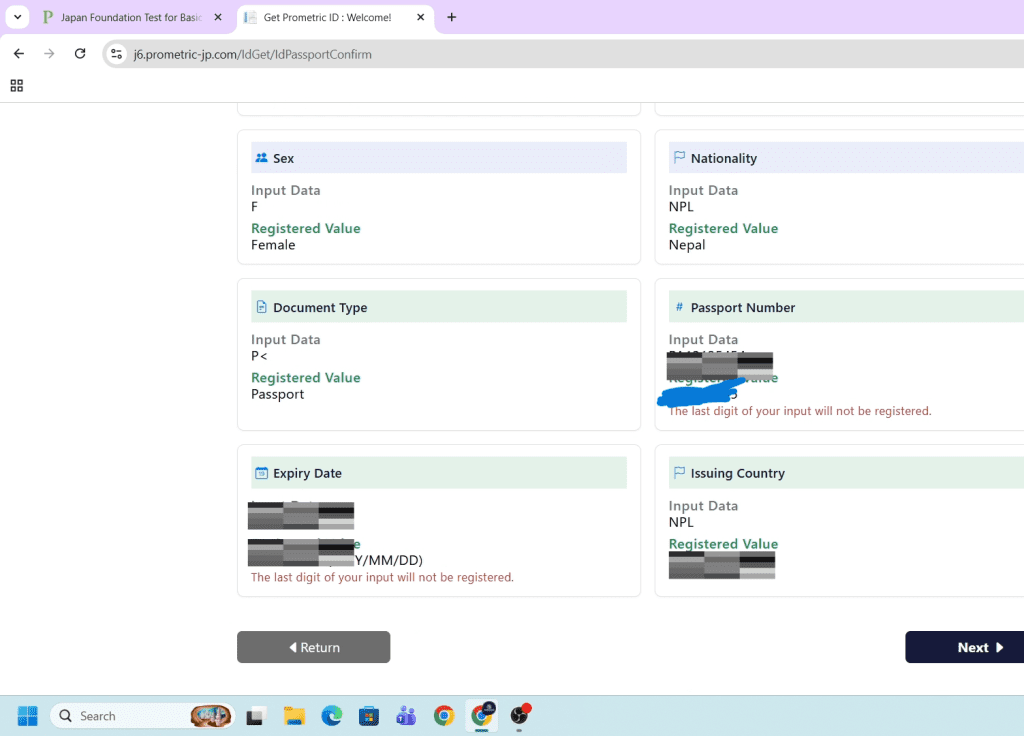
Step 9: Verify and Confirm Your Details
The system will show you a summary of all the information you just entered. Take a deep breath and read through it line by line. If everything looks perfect, click verify and confirm.
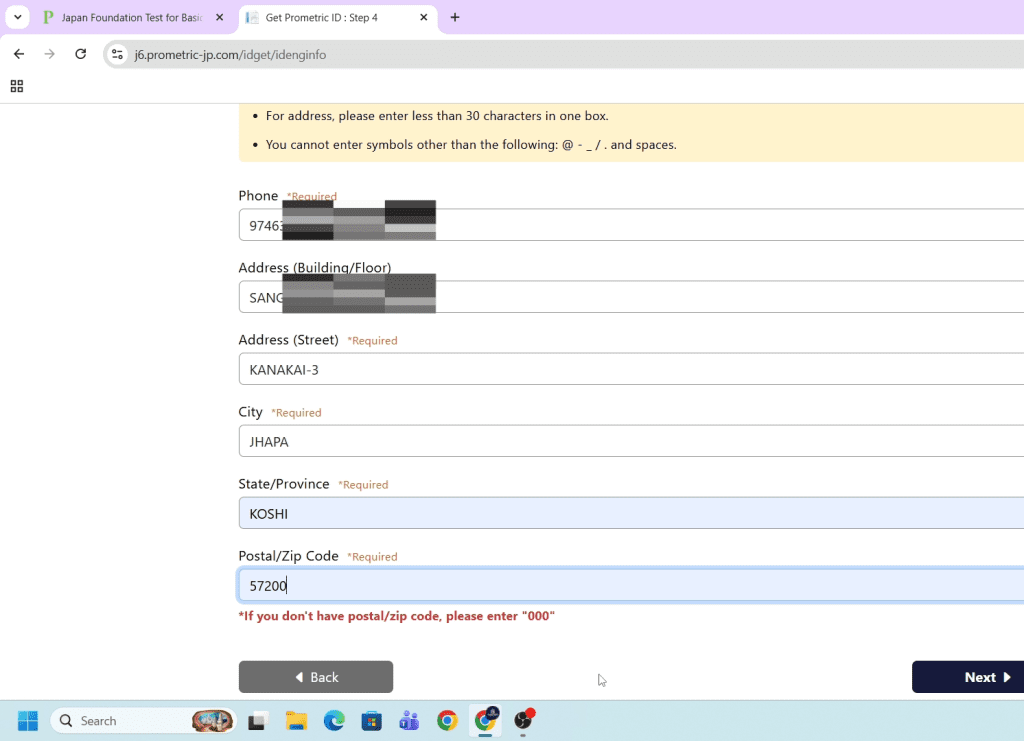
Step 10: Add Your Phone Number and Address
On the next screen, you will need to add your current phone number and physical mailing address. Make sure to use an active phone number where you can receive calls or SMS if necessary.
Step 11: Final Confirmation
Confirm your phone number and address one last time. Once you hit submit, the system will finalize your account. Within a few minutes, your official ID will be sent directly to your Gmail or email account!
Why Accuracy Matters for Your JFT Prometric ID
You might be wondering why we are being so strict about matching your passport’s MRZ lines. The reason is simple: Prometric has incredibly strict security protocols at their testing centers.
When you arrive on exam day, the staff will compare your passport side-by-side with the registration details associated with your JFT Prometric ID. A single misspelled letter or a swapped birth month can result in you being turned away at the door—and unfortunately, you won’t get a refund for the test fee either!
What to Do After Getting Your ID?
Congratulations! Once you see that email in your inbox, you are officially registered in the Prometric system.
Your next steps should be:
Log back into the portal using your new credentials.